A Culinary Experiment!

Documenting the ups and downs of our first CSA experience...
and our attempt to be more conscious of all things local!
Showing posts with label Turnips. Show all posts

Braised Winter Veggies

>> Thursday, August 26, 2010

Our friends M and S recently gave us this recipe to try - they are big fans of the blog and have made several of my recipes, so I was excited that they gave me one in return. We haven't made it yet, but it sounds delicious (and came highly recommended!)...

INGREDIENTS:

- 2 medium carrots, peeled
- 1 medium parsnip, peeled
- 2 small turnips, peeled (about 8 oz.)
- 2 small onions
- 1 medium bulb fennel, trimmed
- 1 tbs. olive oil
- 1 bouquet garni (1 sprig fresh thyme, 1 bay leaf, and 4 parsley stems tied with twine)
- kosher salt and freshly ground black pepper
- 1/2 cup water (or 1/4 cup lower-salt chicken broth and 1/4 cup water)
- 2 tbs unsalted butter
- 2 tbs chopped fresh herbs (ex. a mix of parsley, thyme, and chives)

PREPARATION:

1. Preheat oven to 350 degrees. Cut carrots and parsnip on diagonal into 1 inch chunks.

2. Cut turnips and onions into wedges about 1 inch thick at their widest point. Split the fennel bulb length-wise, notch out the core and then cut the fennel crosswise into 1 inch slices.

3. Heat oil in a medium (9-inch) Dutch oven over medium heat. Add the onions and cook, stirring occasionally until softened and lightly browned (about 5 minutes).

4. Add the other veggies, the bouquet garni, 1/2 tsp salt, and pepper to taste. Raise heat to medium-high and cook until veggies are lightly browned (about 5-7 minutes).

5. Add water and bring to a boil. Cover pot, put in the oven and bake until veggies are fully cooked but still hold their shape (about 20-25 minutes). With a slotted spoon, transfer veggies to a serving bowl.

6. Bring pan juices to a boil until reduced to about 1/4 cup, discard the bouquet garni and whisk in butter and herbs.

7. Spoon the sauce over the veggies and serve!

I'm definitely going to try this once it gets a bit cooler outside...

Read more...

Tilapia with Sesame Greens & Garlic Scapes

>> Friday, June 25, 2010


Our kitchen is finally unpacked enough that we could cook a real meal, and last night's dinner was great!

Sesame Broiled Tilapia (adapted from AboutSeafood.com)

INGREDIENTS:

- 1 lb. fresh tilapia fillets
- 2 tbs. butter, melted
- 1 tsp. fresh lemon juice
- 3 tbs. sesame seeds
- 1 tbsp. of soy sauce (our addition to the recipe)

PREPARATION:

1. Combine melted butter, lemon juice and soy sauce in a shallow dish and dip the fillets in the mixture. Place on a lightly greased ovenproof pan.

2. Broil under high heat about 2 minutes each side, basting with the butter/lemon mixture several times during the cooking process.

3. After the final baste, top fillets with sesame seeds. Broil an additional 1-2 minutes until the seeds are golden brown.


Sesame Greens with Garlic Scapes
(from Red Fire Farm)

INGREDIENTS:

- 1 bunch turnip greens
- 2 turnips or kohlrabi
- 1 bunch swiss chard (we used kale instead)
- greens from 1 bunch of beets
- 4 garlic scapes 1/8 cup oil
- 2 tbs. sesame oil
- 2 tbs. sesame seeds
- 1 tbs. tamari (soy sauce)
- 1⁄4 tsp. cayenne (opt.)


PREPARATION:

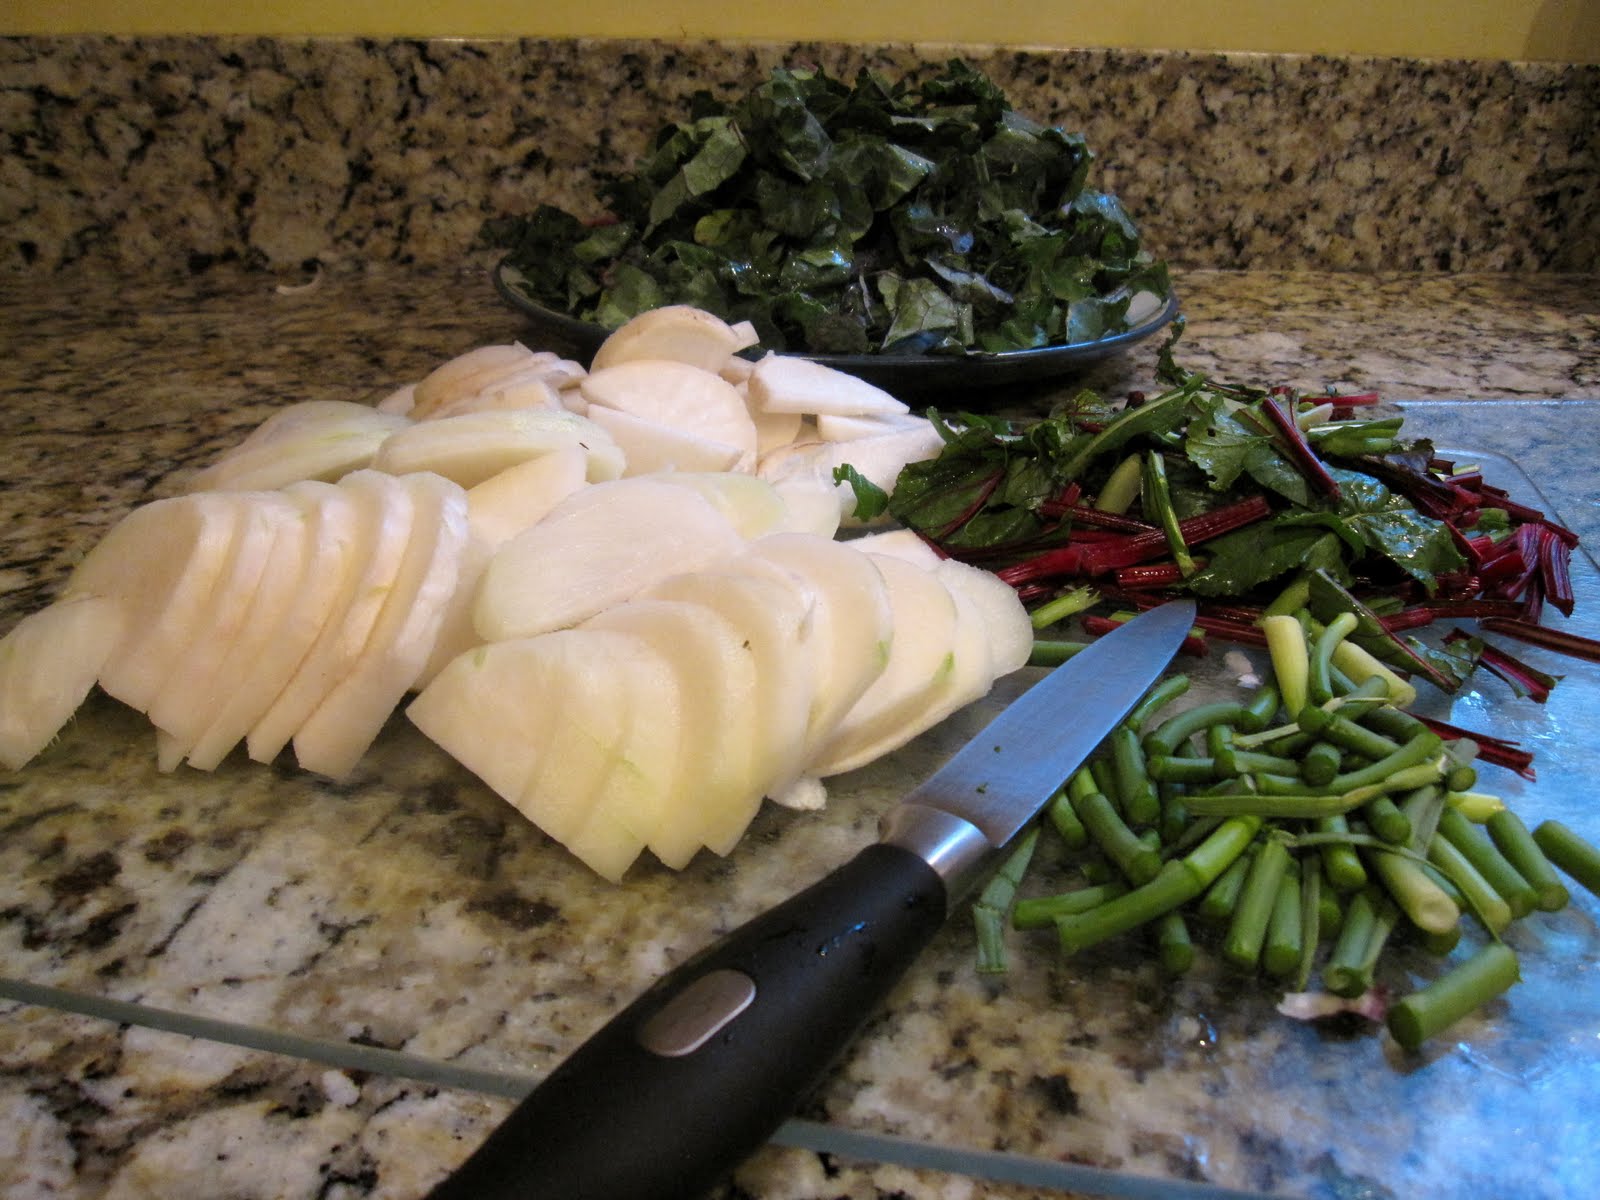
1. Chop greens, removing stems and chopping finely (they need more time to cook so if you want to use them you just have to start them earlier). Thinly slice turnips and cut scapes into 1 inch pieces.


2. In a wok or similar skillet, heat oil until hot and toss in turnips, scapes, and any stem pieces. Cook for 5 minutes.


3. Add beet greens and tamari, cover and cook another 5-10 minutes, stirring occasionally.

4. Add cayenne, sesame seeds, swiss chard, and turnip greens and cook until greens are wilted.


My rating: 8.5/10
Dan's rating: 8/10

One final note about fish - please do your best to buy sustainable seafood whenever possible! Click here to download a great pocket-sized regional list that you can bring with you to the grocery store (from the Monterey Bay Aquarium). They also have an IPhone app, which you can access here.

Read more...

Sautéed Hakurei Turnips & Braised Greens

>> Thursday, June 10, 2010


Ingredients:

1 Bunch Hakurei Turnips with greens (we also used potatoes - see below)
1 lb Greens such as Chard, Mizuna or Braising Mix
2 tsp oil, divide
½ cup water, apple juice or white wine
½ tsp salt
¼ tsp black pepper


Method:

1. Cut the greens from the turnips. Wash and tear all the greens into large pieces and remove the stems. Cut the turnips into bite sized pieces.


2. Heat 1 teaspoon of oil in a sauté pan over medium-high heat. Sauté the turnips stirring or tossing occasionally until they are crispy outside and tender inside.


3. Season with salt and pepper and remove to a warm plate. In the same pan, heat the remaining oil over medium heat.

4. Add the washed and wet greens to pan in batches. Stir and mix as they wilt. Add the wine or other liquid and cook until it is mostly evaporated.


5. Plate greens and arrange the warm turnips on top. Enjoy!


Unfortunately we had to supplement the turnips in this recipe with red potatoes - we only had 2 turnips! (since we're splitting the farm share with R and J and this week's total portion of turnips was only 1 bunch). Luckily J and I found a bunch that had 4 turnips in it - most of them only had 2 total turnips. Hopefully this won't be a problem as the season continues and there's more quantity of specific produce available from the farm per week.

For the "greens," we used spinach from the CSA as well! We didn't love it nearly as much as the turnips though; it was very bitter (most likely due to our cooking and not the spinach itself - it tasted good when it was raw).

In case you were wondering, the wine we used in the recipe was A to Z Oregon Pinot Gris - we're actually going on vacation to the Pacific Northwest later this summer, and are trying to get a sense of wines we like from Oregon before we go!

My rating: 7/10 - mostly due to the turnips!
D's rating: 6/10 - "I would DEFINITELY make turnips again..."

Finally, here are some other turnip recipes we considered making:

- Turnip Griddle Cakes
- Turnip Gratin
- Mashed Turnips
- Herbed Couscous with Green Garlic and Hakurei Turnips (3rd recipe from the bottom)
- Young Turnip and Goat Cheese Gratin

Read more...

Hakurei Turnips

I've decided that I'm going to do a little bit of research about each of the veggies that we get from the CSA which we've never had before. This way, I can share this knowledge with all of you!

My plan is to also post photos and recipes that we've tried, as well as other ideas we've considered. (Unless otherwise stated, all photos that appear on the blog are ones I've taken! One of my personal goals is to improve my food photography skills between now and the end of this experience...)

Oh, and
last but not least, we're going to give our ratings of the dishes we make!

First vegetable up, hakurei turnips...


This white "salad turnip" sets the standard for flavor. The flat-round, smooth white roots mature early, just after radishes, and are best harvested young, up to 2" diam. The flavor is great raw - sweet and fruity - and the texture is crisp and tender. The dark green hairless tops are useful raw or lightly cooked with the roots. Compared with other early white turnips, Hakurei tastes better and stays smoother as it sizes. (Source: Johnny's Selected Seeds)

Best known for its excellent flavor, this Japanese turnip produces uniform globe-shaped roots with snow-white skin and a crisp texture. The smooth dark green tops are mild enough to eat fresh out of the garden along with the roots. Hakurei plants tolerate cold temperatures, and the fruit matures early. The Hakurei’s mild and sweet flavor makes it a favorite salad ingredient. The nutritious tops can go right into the salad as well, or lightly sauté both together and enjoy them that way. (Source: Kitazawa Seed Co.)

Our impressions:

- The raw turnip was crunchy (but still softer than a raw potato) and just a little bit sweet. It tasted sort of like horseradish but without the sting (which is good because I HATE horseradish!)
- Cooking the turnip intensified this slightly sweet flavor, and gave it an even better texture. It almost melted in your mouth just a little...
- Overall, we really liked these turnips - I have no doubt that we will seek them out in the future!

My next post will have the recipe we tried tonight... stay tuned!

Read more...

Blog template by simplyfabulousbloggertemplates.com

Back to TOP